I've had an easel for years but it is small, light, and not very stable. I thought it was time to buy a studio easel since they seem more sturdy and can certainly hold a larger canvas. After some search, those I liked were about $149-$179 (or much higher if willing to pay). These easels are pretty straight forward and minus a few quirks, seemed like something I could make. So I gave it a whirl.


The easel (above left) is the look/style I was trying to match. The picture on the right is the lumber I started with, but I actually used slightly less.

I made a little sketch using PowerPoint. I usually have the concept in my head, but these sketches help me track the lumber/hardware needed and saves trips to the store.


These were the first sketches. I changed the base to a rectangle and reduced the number of vertical slats. I also planned for a ledge on the upper and lower supports, however I didn't make them. I haven't found them necessary (yet).


Here is the final product - easel mode and folded. I was very pleased it actually folded - which was the intent. I have to loosen the back brace bolts more than I would like, but it still folds. I kind of over-engineered this product so while it's sturdy, it's also a bit heavy. The easel is only connected with bolts and screws - no glue. I prefer to make things which can be assembled/disassembled as desired.


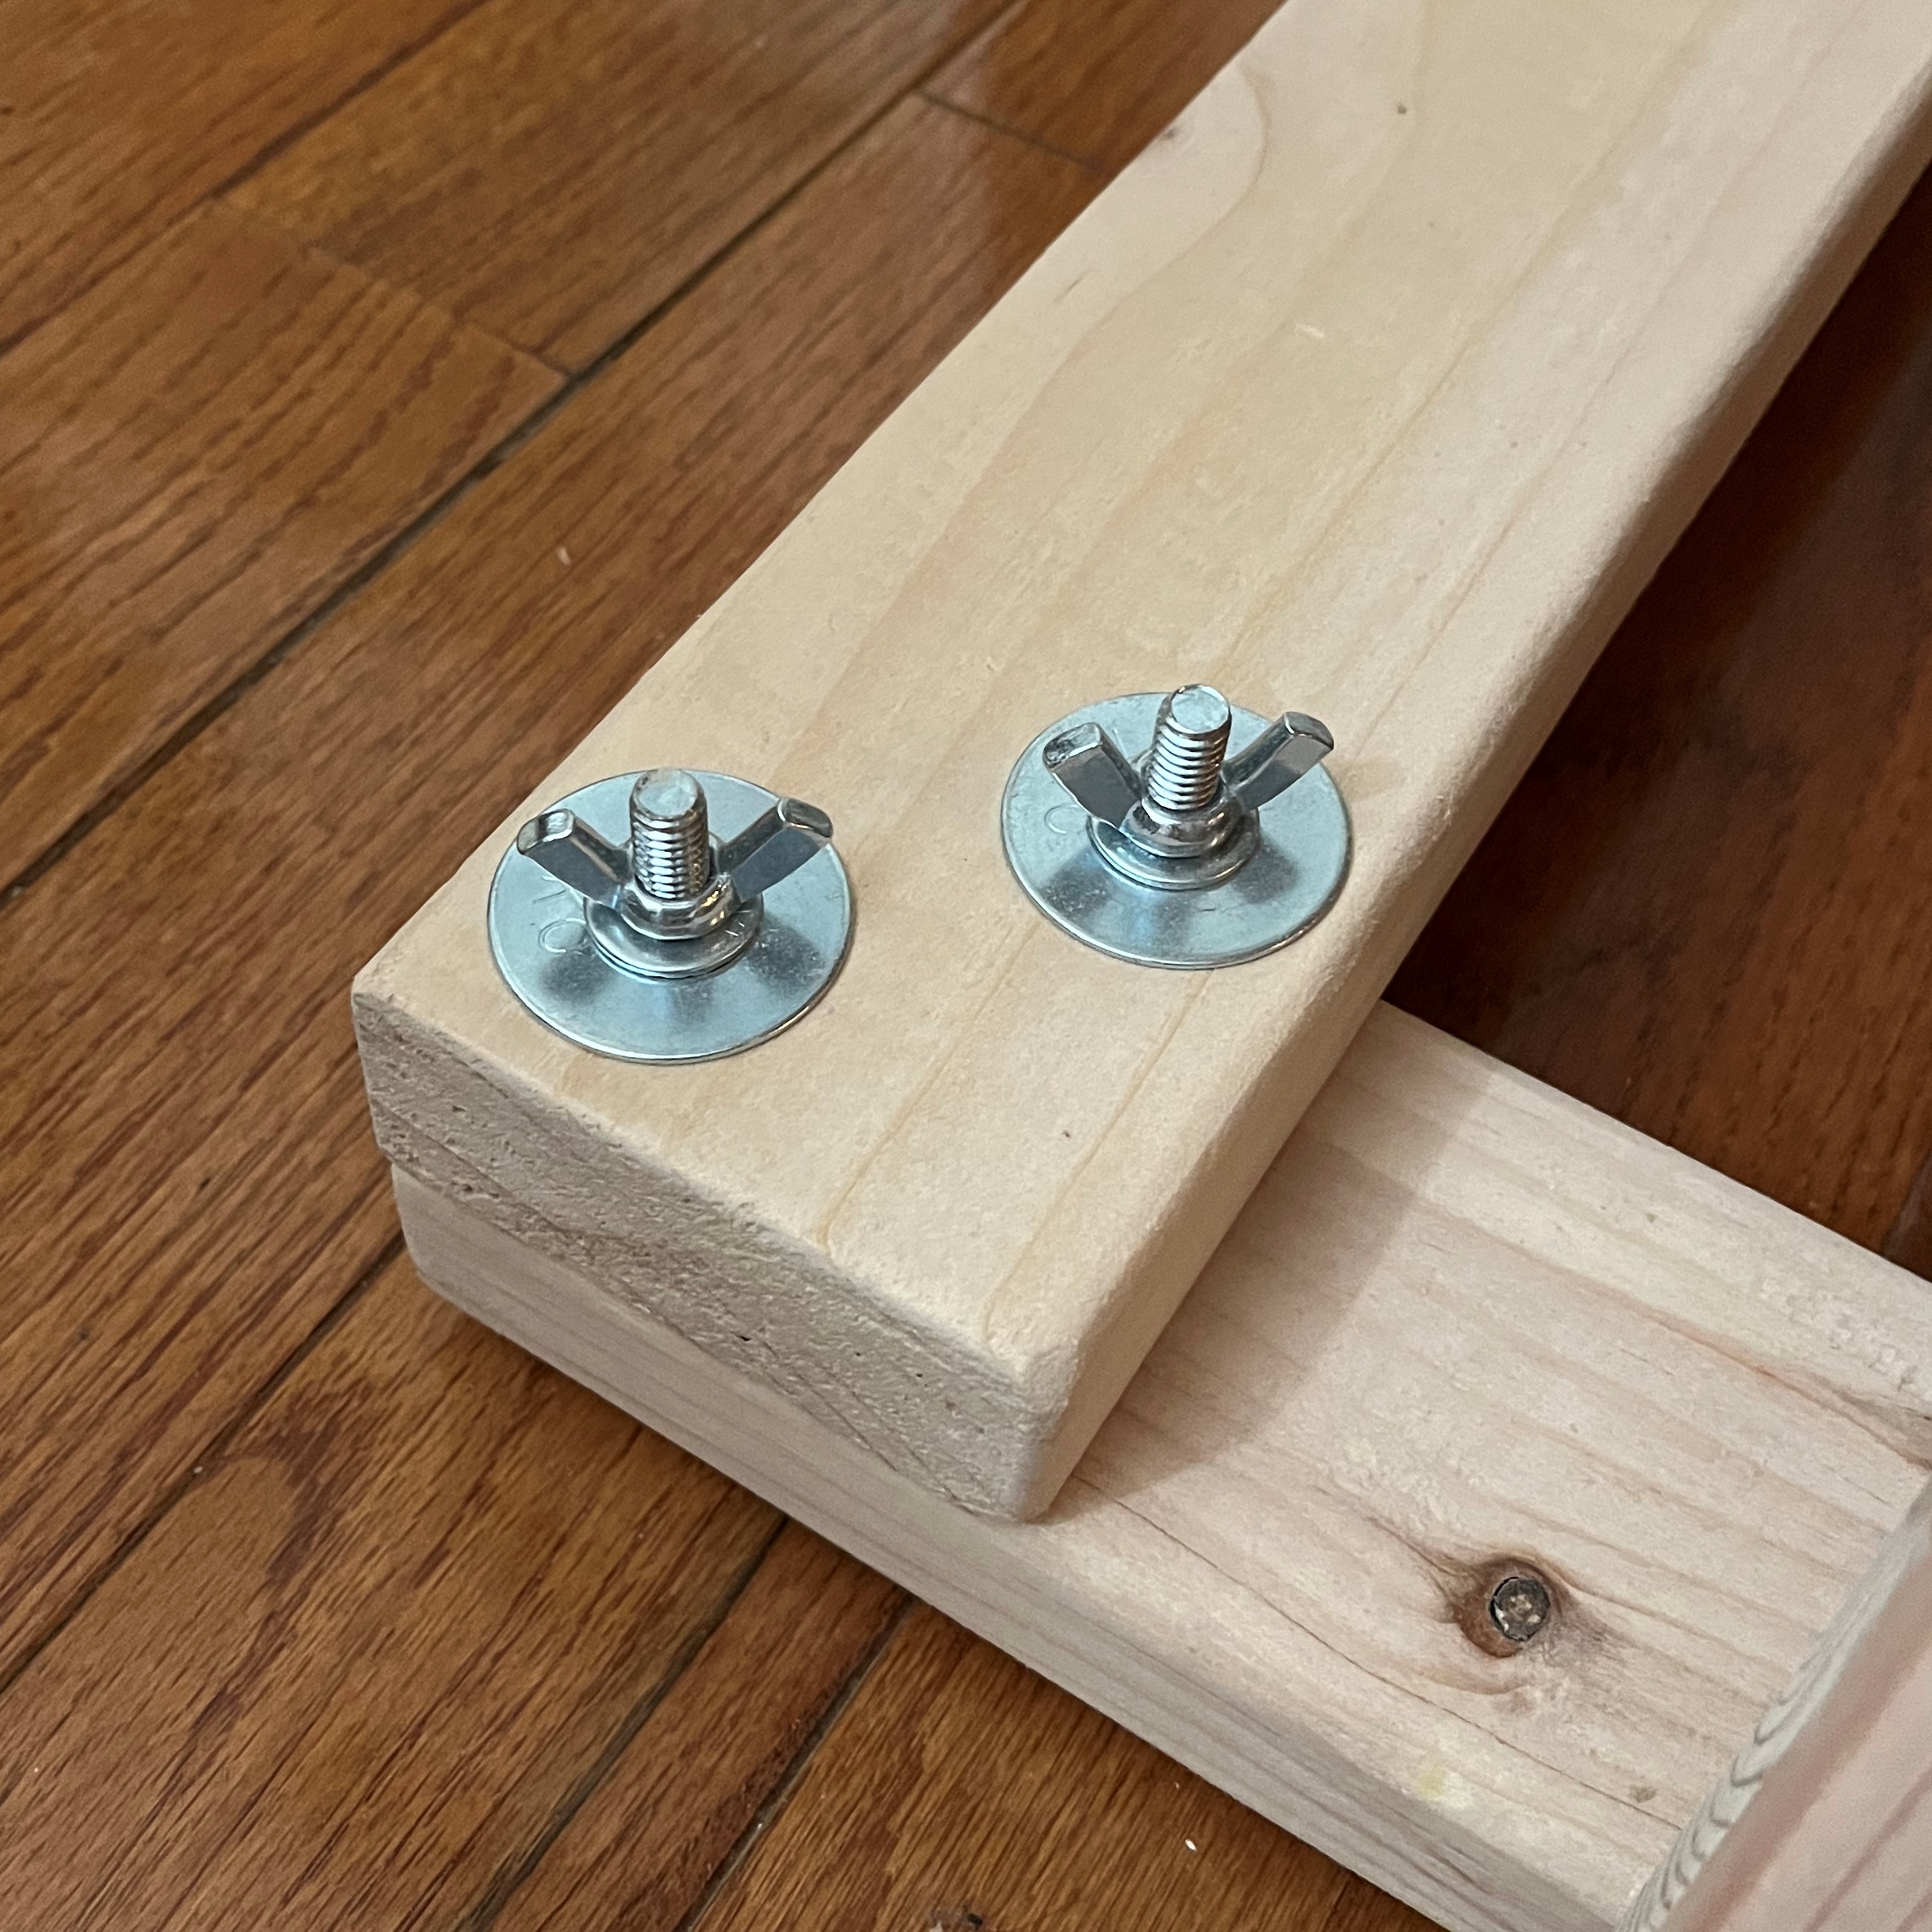
I originally planned on using thumb bolts but with the adjustment slot, that wasn't going to work. A washer would've solved the problem but I couldn't find bolts of sufficient length. It struck me, just bend the washer which 1) makes a handle and 2) doesn't slip through the slots. Bending the washer tight enough stopped the bolt head from spinning. It worked great and was cheaper than pre-fabricated handles.

In the spirit of over-engineering, I used two bolts on each corner of the base and heavy duty hinges on the front hinge points. I threw lock washers on the base bolts so they wouldn't spin when tightening the wingnuts. Works pretty well.

One more shot of the easel in use. It's holding the first painting I made on this easel. What you can see (the sky) was painted on my old easel, but I intentionally waited to finish the painting using this easel. It was it's christening of sorts. The painting can be seen here >> K-Bales.
Debrief / things I would change...

1. When folded, the easel could be rolled around pretty easily if I had put wheels at the front/bottom of the base. When in easel mode, the wheels would lift off the ground.
2. The adjustment slot on the right is for the typical range of angles for painting. As opposed to the slot on the left, this limits the overall range of adjustment.
The nice thing about something which isn't glued together is I could make these changes with relative ease. Depending on how much I move and/or fold the easel, I might make the modifications. In the end, I'm pretty happy I tried making my own easel.
Notes for future reference...
- Geneva Fine Art Supplies. (His video on YouTube).
- How I envision the two clamps on the Geneva style easel...


- mm -
2 comments:
Well done good sir!
nice call on bending the washer in place of a wingnut
Post a Comment